Beekeeping
Bush Bees Home

Jay Smith Bottom Board Feeder
My Bottom Board Feeder
Top Clip
Hive Stand
Plantain
Bucket Float
Smoker Insert
FWOF
Robber Screen
Wiring Tools
Propolis Gathering
Click on Thumbnails for bigger pictures
Books for sale
Bee Camp
Speaking
Be a patron on Locals
My YouTube Channel
Donations
Beekeeping Apprentice needed
Beekeeping Equipment
Beekeeping Carts
Beekeeping Things I Did Not Invent
Foundationless Beekeeping
Hardware Cloth Uses in Beekeeping
Hive Box Jig
Horizontal Hive Beekeeping
Lighter Beekeeping Equipment
Miscellaneous Beekeeping Equipment
Narrow Frame Beekeeping
Nucleus Hives
Observation Hives
Top Bar Hive Beekeeping
Top Entrance
Two Queen Hive
Wax Dipping Hives
Beekeeping Information
Beekeeping Acronym Glossary
Beekeeping Basics
Beekeeping Fallacies
Beekeeping Math
Beekeeping Locality
Beekeeping Systems
Beekeeping Terminology
Beginner Beekeepers
Classic Beekeeping Books
Colony Decisions
Contrary Opinions
Differences in Observations on Beekeeping
Experiment in Swarm Control
Feeding Bees
Frequently Asked Beekeeping Questions
Forums, how to get a good response
Harvesting Honey
Health Certificates since 2004
Inspections
Installing Packages
Laying Workers
Lazy Beekeeping
Mites that live on bees
More Than Just Bees
Moving Bees
Organic Beekeeping Meetings
Panacea
Presentations
Realistic Expectations in Beekeeping
Robbing
Smoke
Space Management
Splits
Spring Beekeeping Management
Swarm Control
Ten Commandments of Beekeeping
Timing
Too Many Beekeeping Options?
Unlimited Broodnest
Unnatural Things in Beekeeping
Videos of some of my presentations
Water
Wintering Bees
Bee Pests
CCD
Enemies of Beekeeping
Four Simple Steps to Healthier Bees
Mite Bombs
Natural Cell Size
Nosema
Rationalizations on small cell success
Varroa Treatments
Wax Moths
Why I Use No Treatments of Any Kind
Queens
A Few Good Queens
Feral Bees
Genetic Diversity
Quality of Emergency Queens
Queen Flying Off
Queen Rearing
Queen Spotting
Queens For Sale
Races of Bees
Requeening a hot hive
Whole bee concept
Philosophy
Beekeeping Philosophy
Belief in Beekeeping
The Hardest Thing To Do In Beekeeping
How bees change your life
Learning
Native American Honey Bees
Scientific Studies
Other Links
Beesource Beekeeping Forum
Beesource Beekeeping Home
Beemaster Beekeeping Home Page
Dee Lusby on Small Cell Beekeeping
Bee Unto Others
Dave Cushman
Resistant Bees
Beekeeper Linda
Beekeeping like a girl
Bella Donna, Apitherapist
english, español, deutsche, português, русском, română, polsku, беларускай,
Miscellaneous Bee Equipment
![]()
Here are some odds and ends of equipment that I have modified one way or another and some other miscellaneous pictures. Click on them for full size pictures, of course.
Jay Smith Bottom Board Feeder

This is picture of the bottom board feeder that Jay Smith came up with. It's simply a dam made with a 3/4" by 3/4" block of wood put an inch or so back from the where the front of the hive would be (18" or so forward of the very back).
The box is slid forward enough to make a gap at the back. The syrup is poured in the back. A small board can be used to block the opening in the back. The bees can still get out the front by simply coming down forward of the dam. The picture is from the perspective of standing behind the hive looking toward the front. This is all empty so you can see where the dam is etc. The edges of the dam have been enhanced and labels put on to try to make more sense.
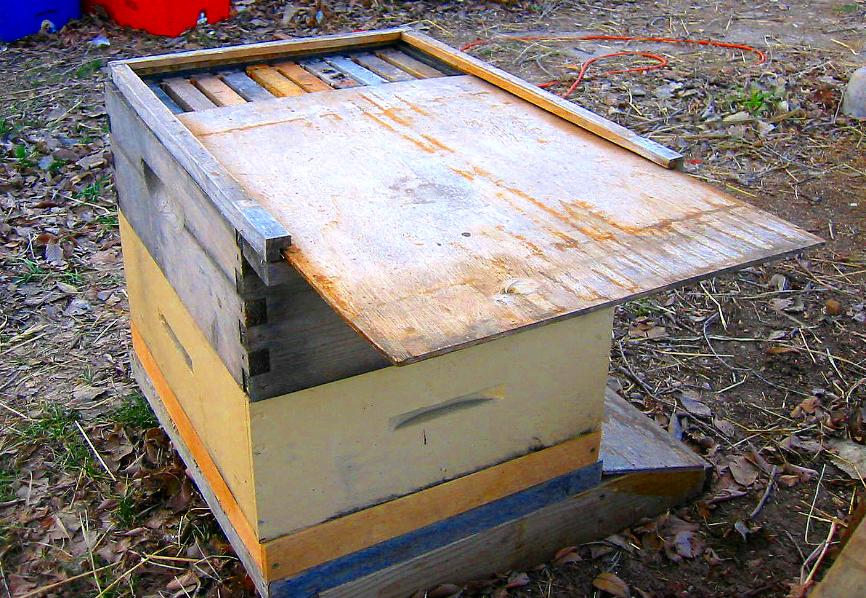
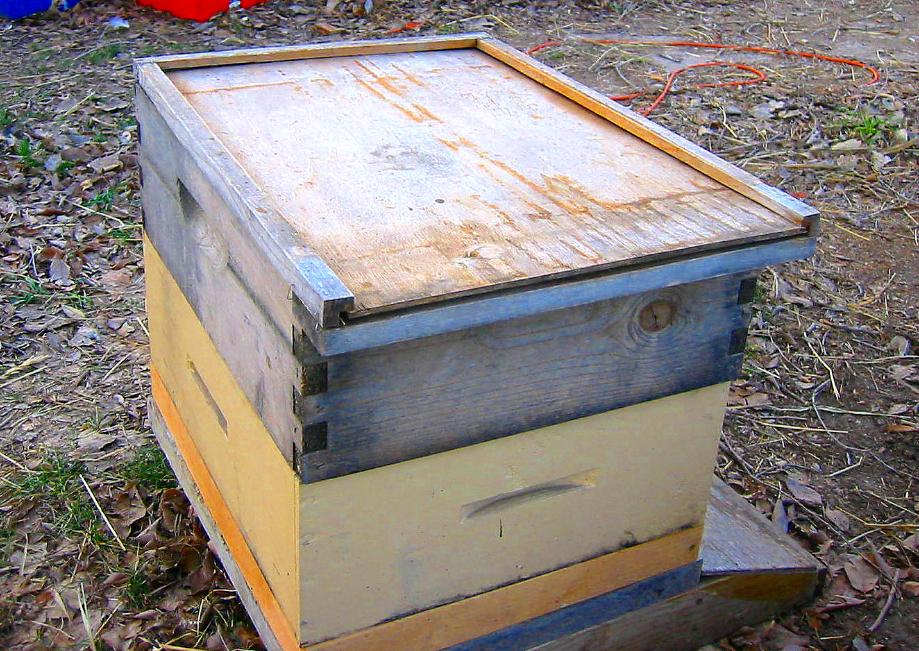
My version of the Bottom Board Feeder

This is made from a standard bottom board from Miller Bee Supply. The space on top is 3/4" and the space on the bottom is 1/2". This is a nice space for overwintering as I can put some newspaper on and cover with sugar, or I can fit a pollen patty in without squishing bees. I was concerned about water from condensation so I added a drain plug. This could also be used to drain bad syrup. Also this design allows stacking up nucs and feeding all of them without opening or rearranging. So far I have had about the same number of drownings as a standard frame feeder. You do have to pour it in slowly and if the bees are obviously so thick that they are all over the bottom you might want to add a box and lessen the congestion. I am considering making a float out of 1/4" luan.
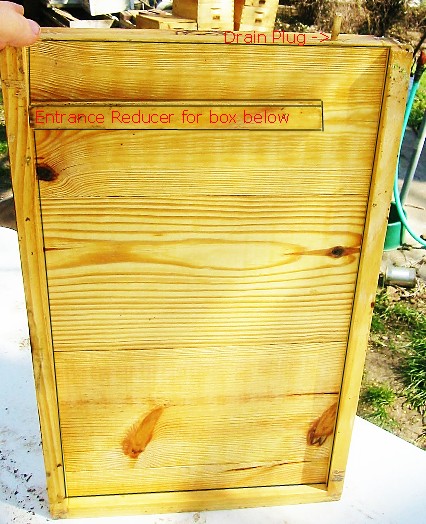
From left to right:
Bottom of the feeder. The block part way across makes a reduced entrance for the hive below it.
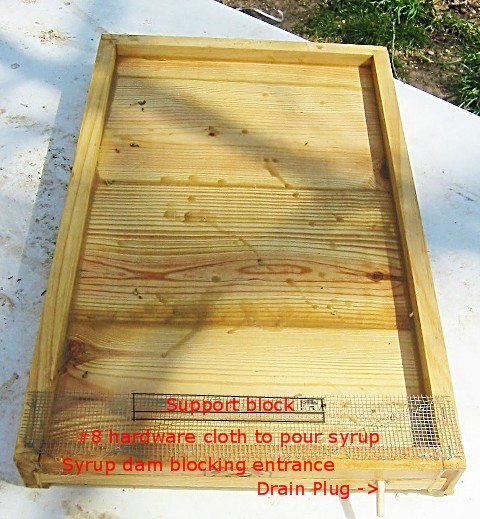
Top of the feeder. The dam at the front stops the syrup from running out. The support block holds the #8 hardware cloth up so it doesn't sag. The #8 lets me fill the feeder without bees flying out. The drain plug is so I can let condensation out in the winter or rain water if it gets in. It's been dipped in wax and the cracks filled with a wax tube fastener. You could just melt some beeswax and roll it around in the feeder to seal it.
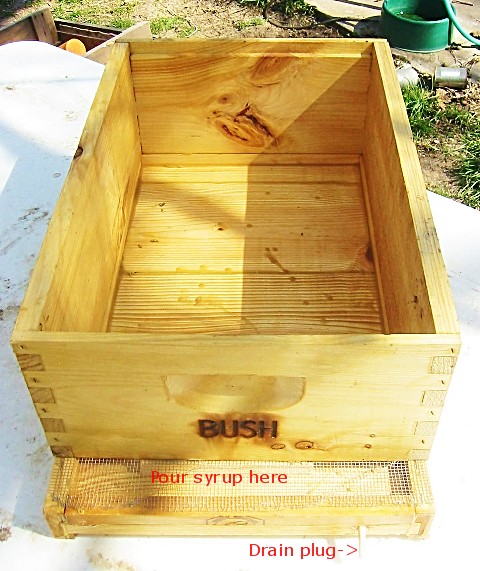
With a box on it so you can see where you fill it. If you aren't stacking them the feeder portion could be on the front or back. When doing "apartment style" the filler is in the front.
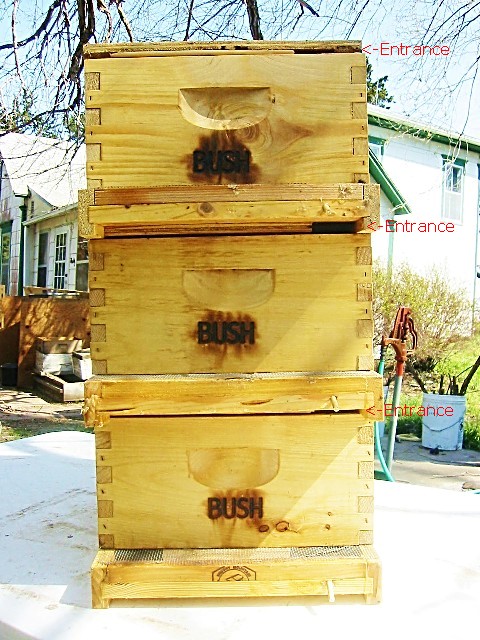
Apartment style where you can see the entrance for the nuc below on the bottom.
Apartment style with covers over the filler to keep out most of the rain. These are scraps of 1/2" plywood, but anything works fine. So far they haven't blown off.
Top Clip
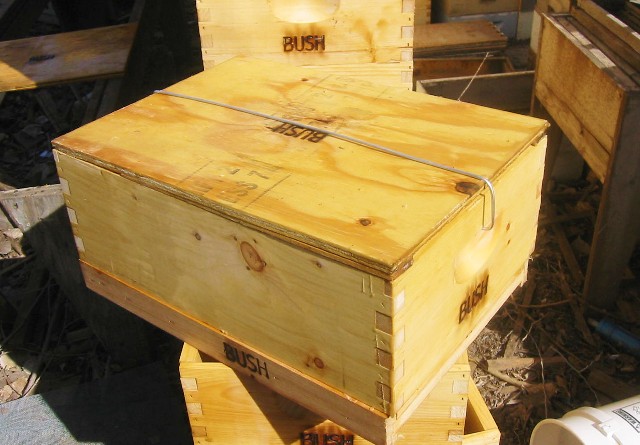
This is a clip to hold the lid on. I saw one of these on a video and decided to make some to save lifting bricks. The clip catches in the hand holds. It's made of #9 galvanized steel wire.
Hive Stand
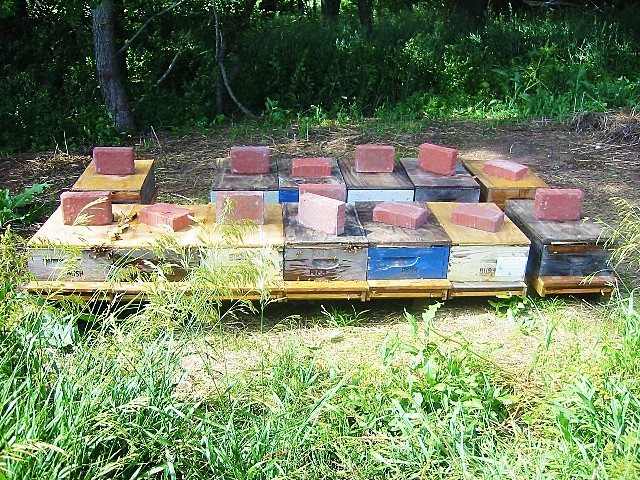
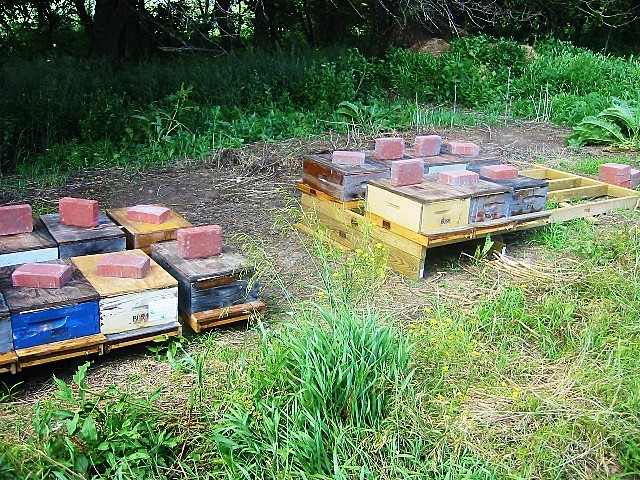
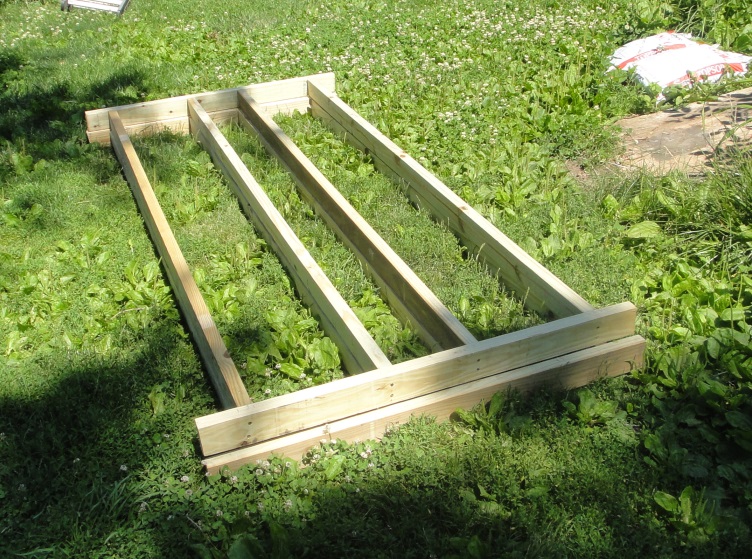
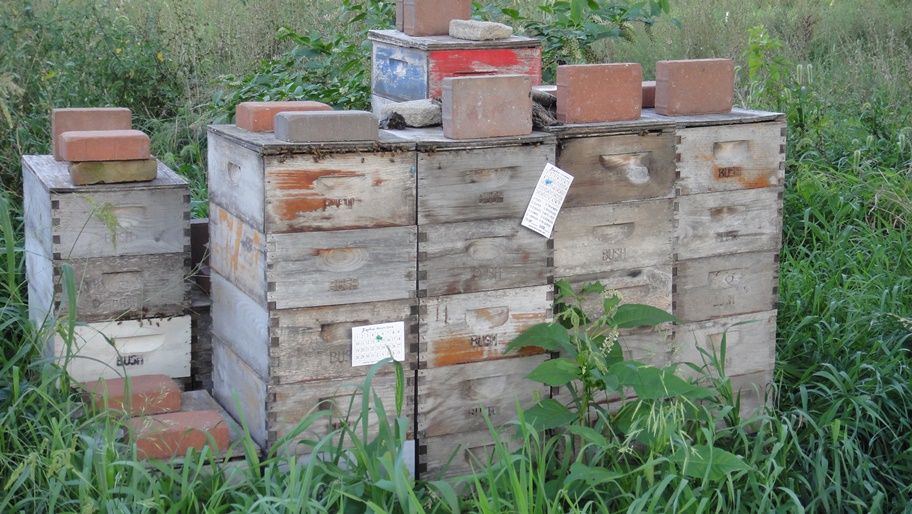
My intent is to have a stand I can easily level just once for 14 hives, and be able to push them all together for the winter for warmth. The long runners are 16" apart with the front set so if the backs are in the center against each other the front edge of the hive is at the front edge of the two by four. And the back one is so that if the front is even with the front of the ends then the back is still on the two by four in the back. The third picture is two stands on top of each other when I was building them.
Plantain

This isn't exactly equipment, but if you get a sting it's the best thing I've found to treat it. Just take a leaf and bite it to crush it and put it on the sting as a poultice (after you scrape out the stinger of course).
Bucket Float
For using 5 gallon buckets for open feeders. Made from 1/4" exterior glue Luan Plywood. Bees still seem to drown in feeders no matter what I do. If you do this be sure to have enough buckets that they don't pile up in the bottom trying to feed. I lose a lot less bees with more buckets than with less buckets. If there are other apiaries nearby open feeding may not be practical.
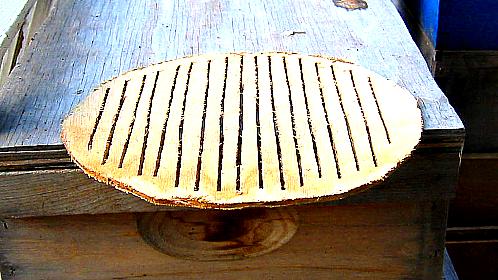
Smoker Insert
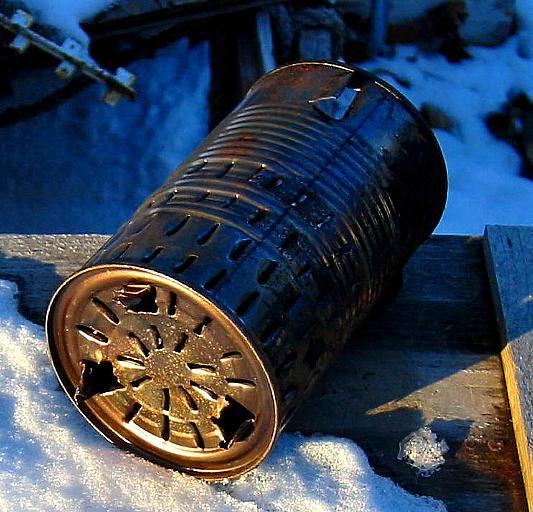
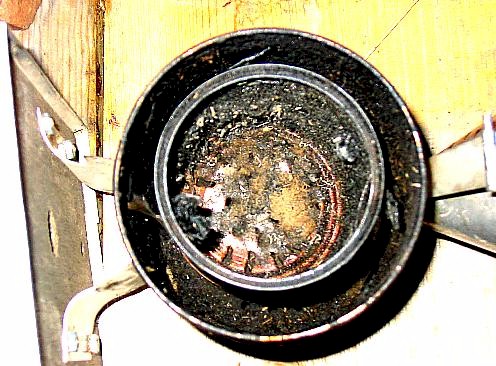
This provides a constant source of oxygen for the smoker so it doesn't go out. Note the legs on the bottom to hold it up.
FWOF

(Floor With Out a Floor aka Cloake Board). Used to allow converting a top box on a queen rearing hive to change from a queenless cell starter to a queenright cell builder or finisher. This one is made with a 3/4" by 3/4" piece of wood with a 3/8" x 3/8" groove in it. Hang it out 3/4"or more in front and put a piece across the front under the sides to make a landing board. Cut a piece of 3/16" or 1/4" luan to slide in for a removable bottom. Coat edges with Vaseline to keep the bees from gluing it in. From left to right: The frame on a hive with the floor out. Inserting the floor. The FWOF with the floor in.
Robber Screen
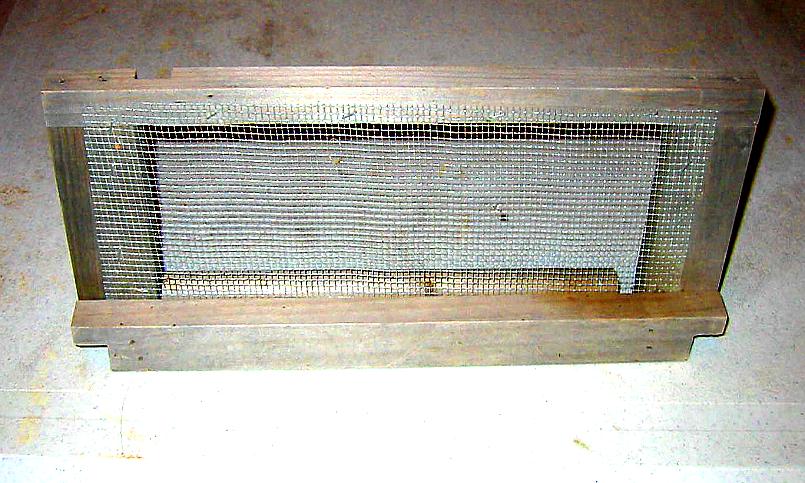
Left, hive side of a robber screen. Right, outside of a robber screen. This one is made from a Brushy Mt. "front door". Without the notches and all it makes a great door for closing up a hive for moving or because someone is spraying insecticides.
Wiring Tools
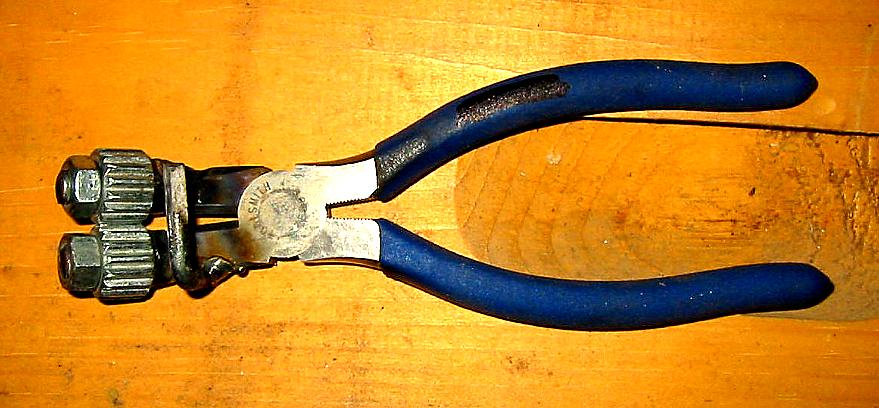
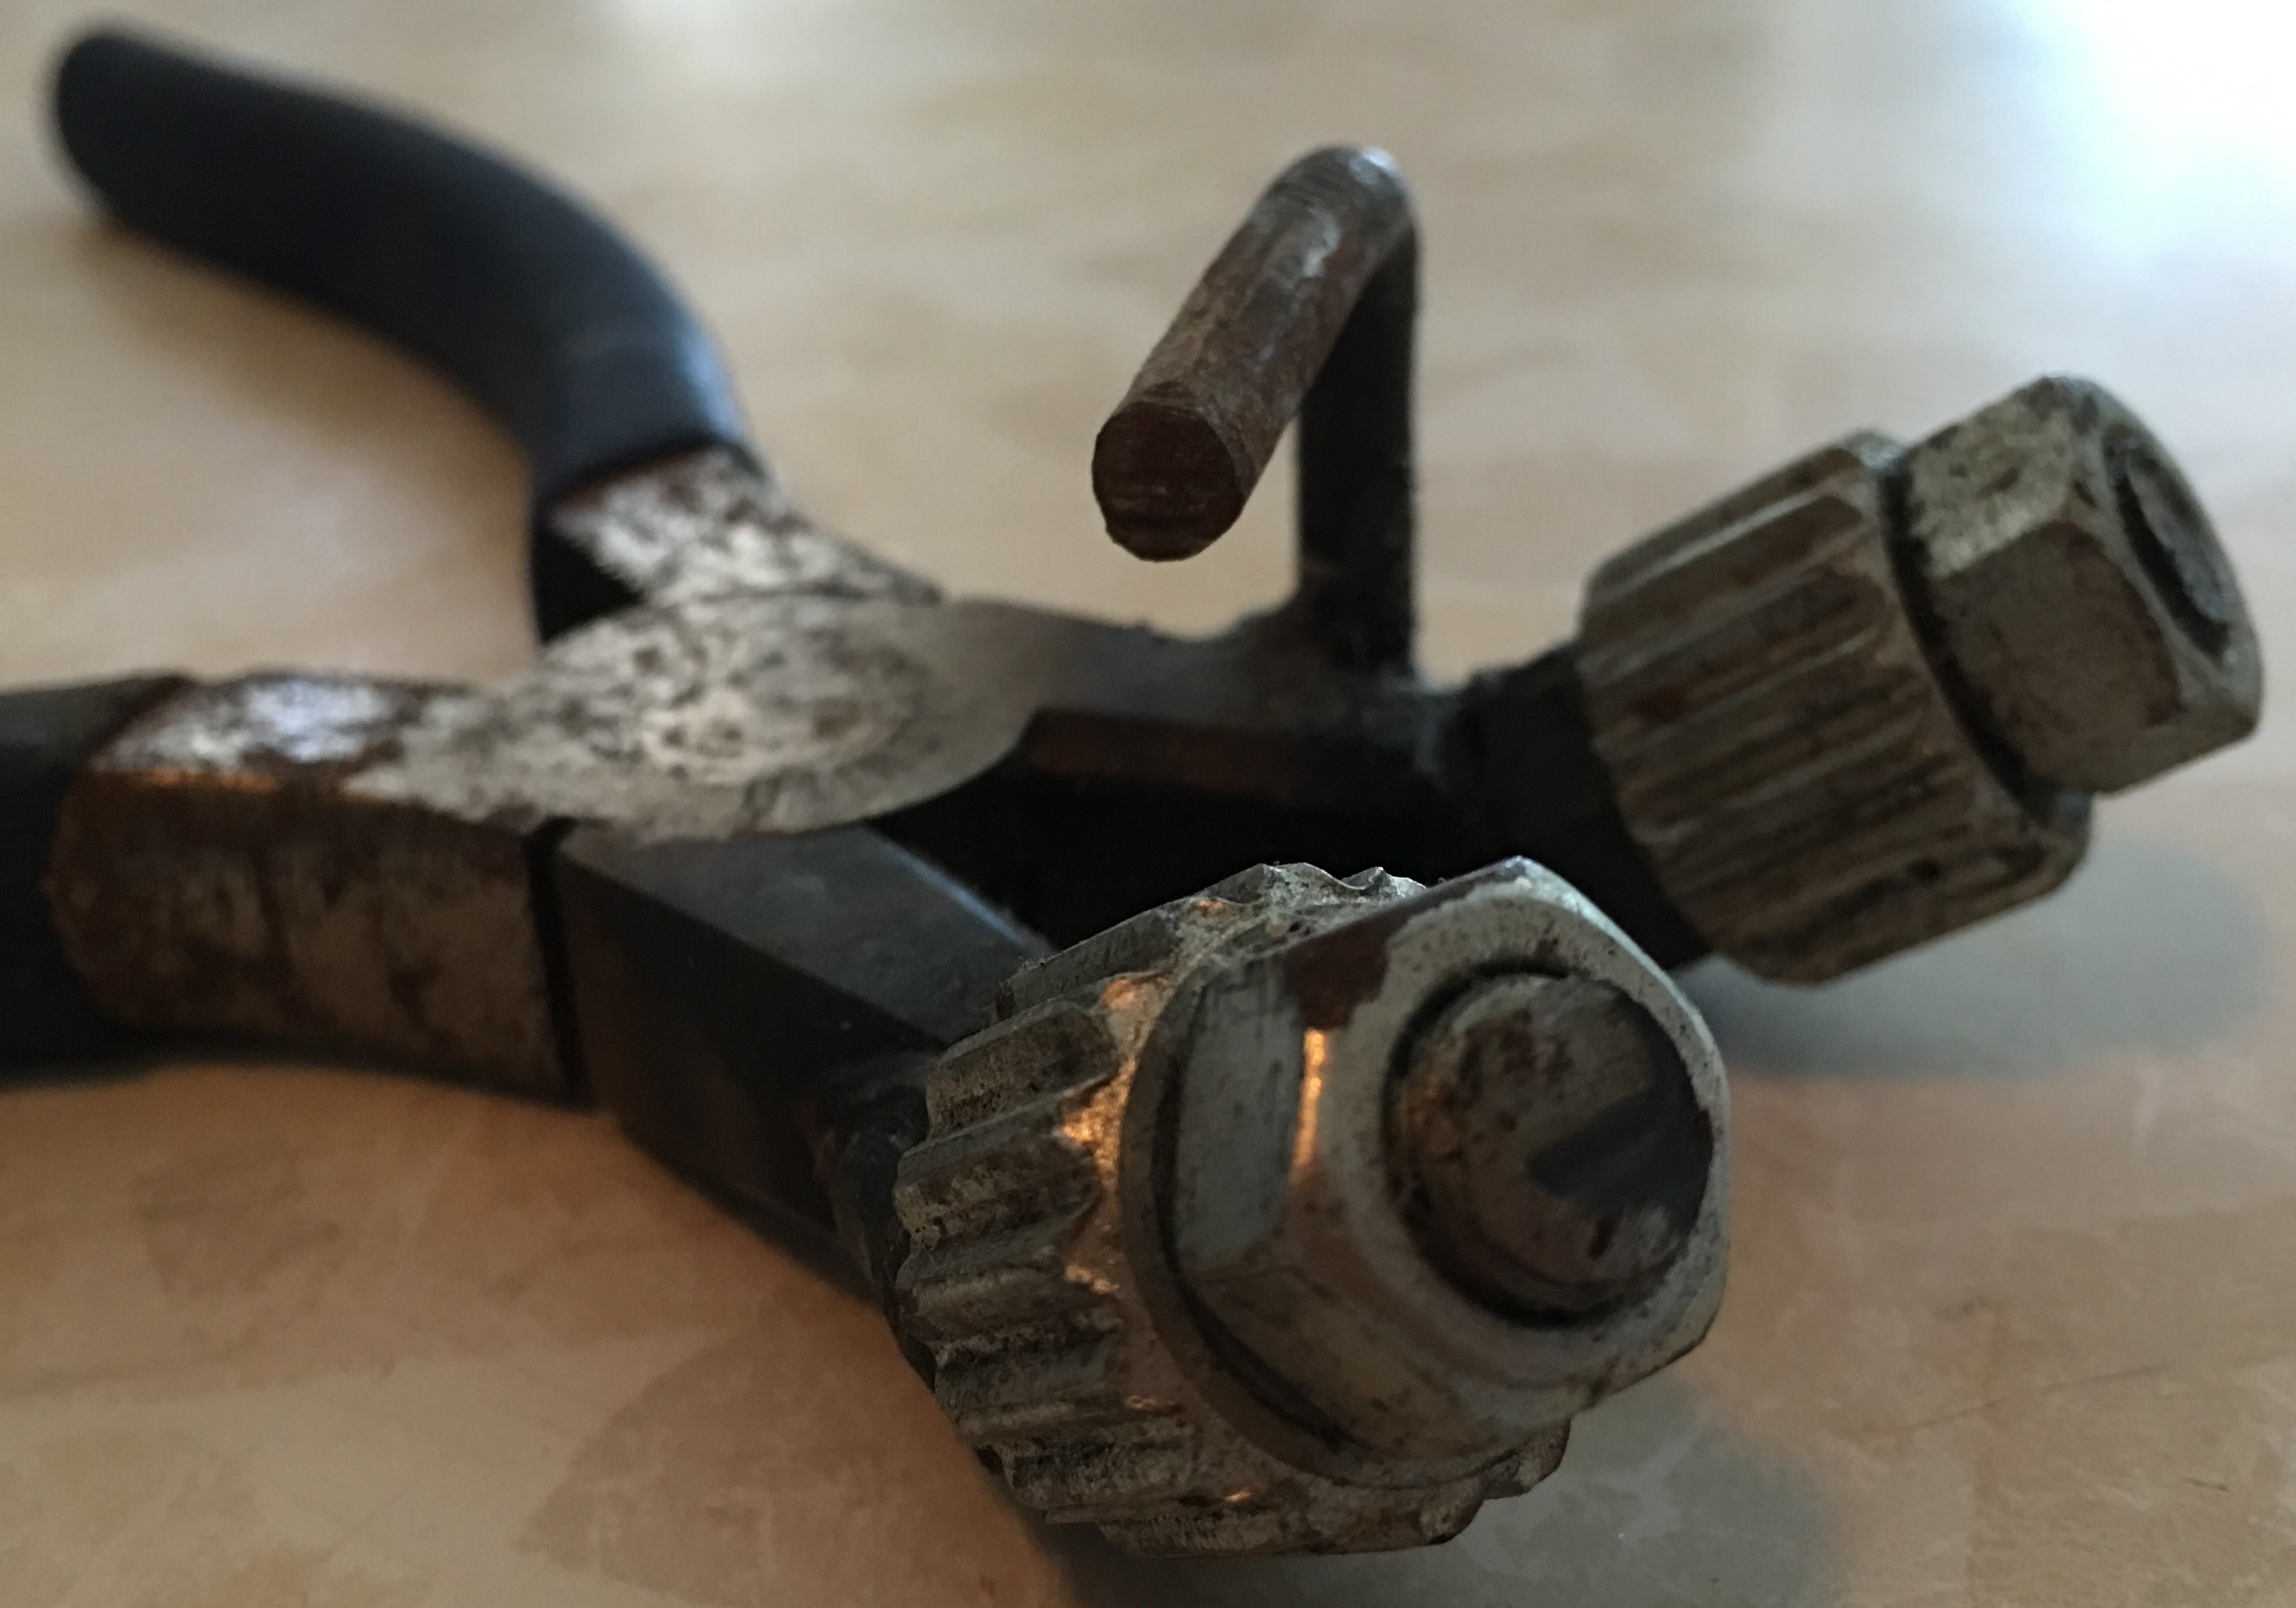
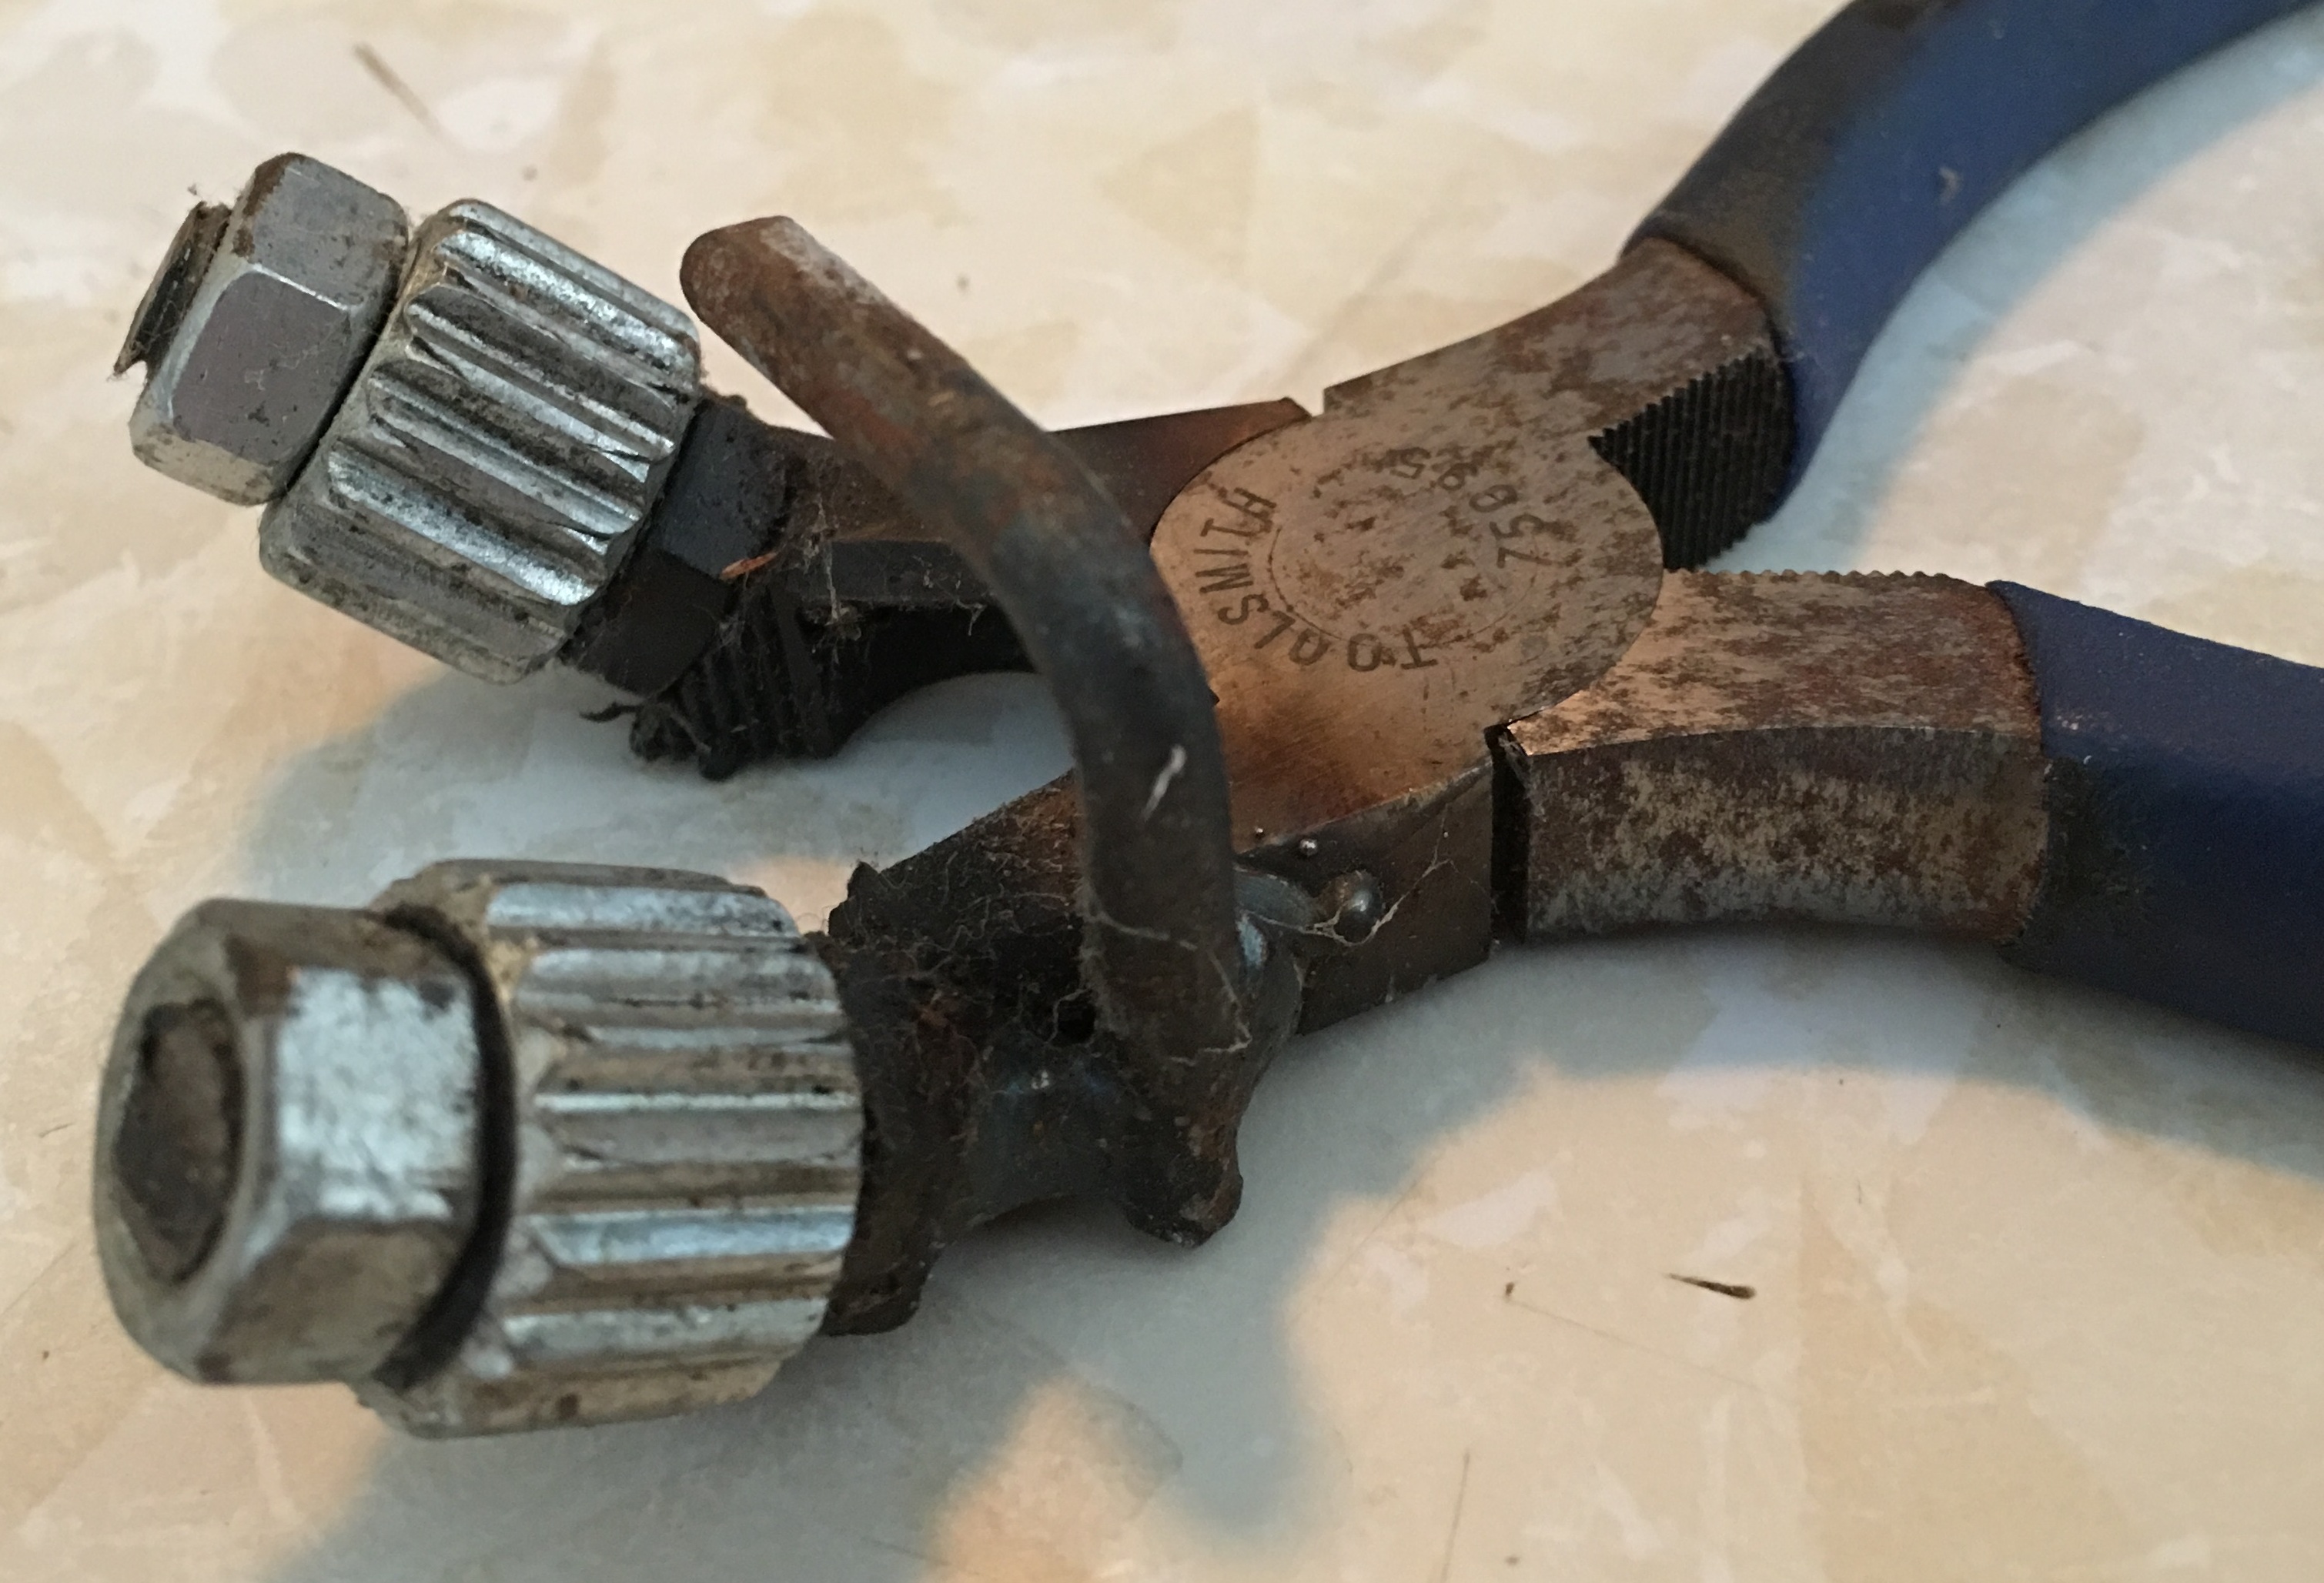
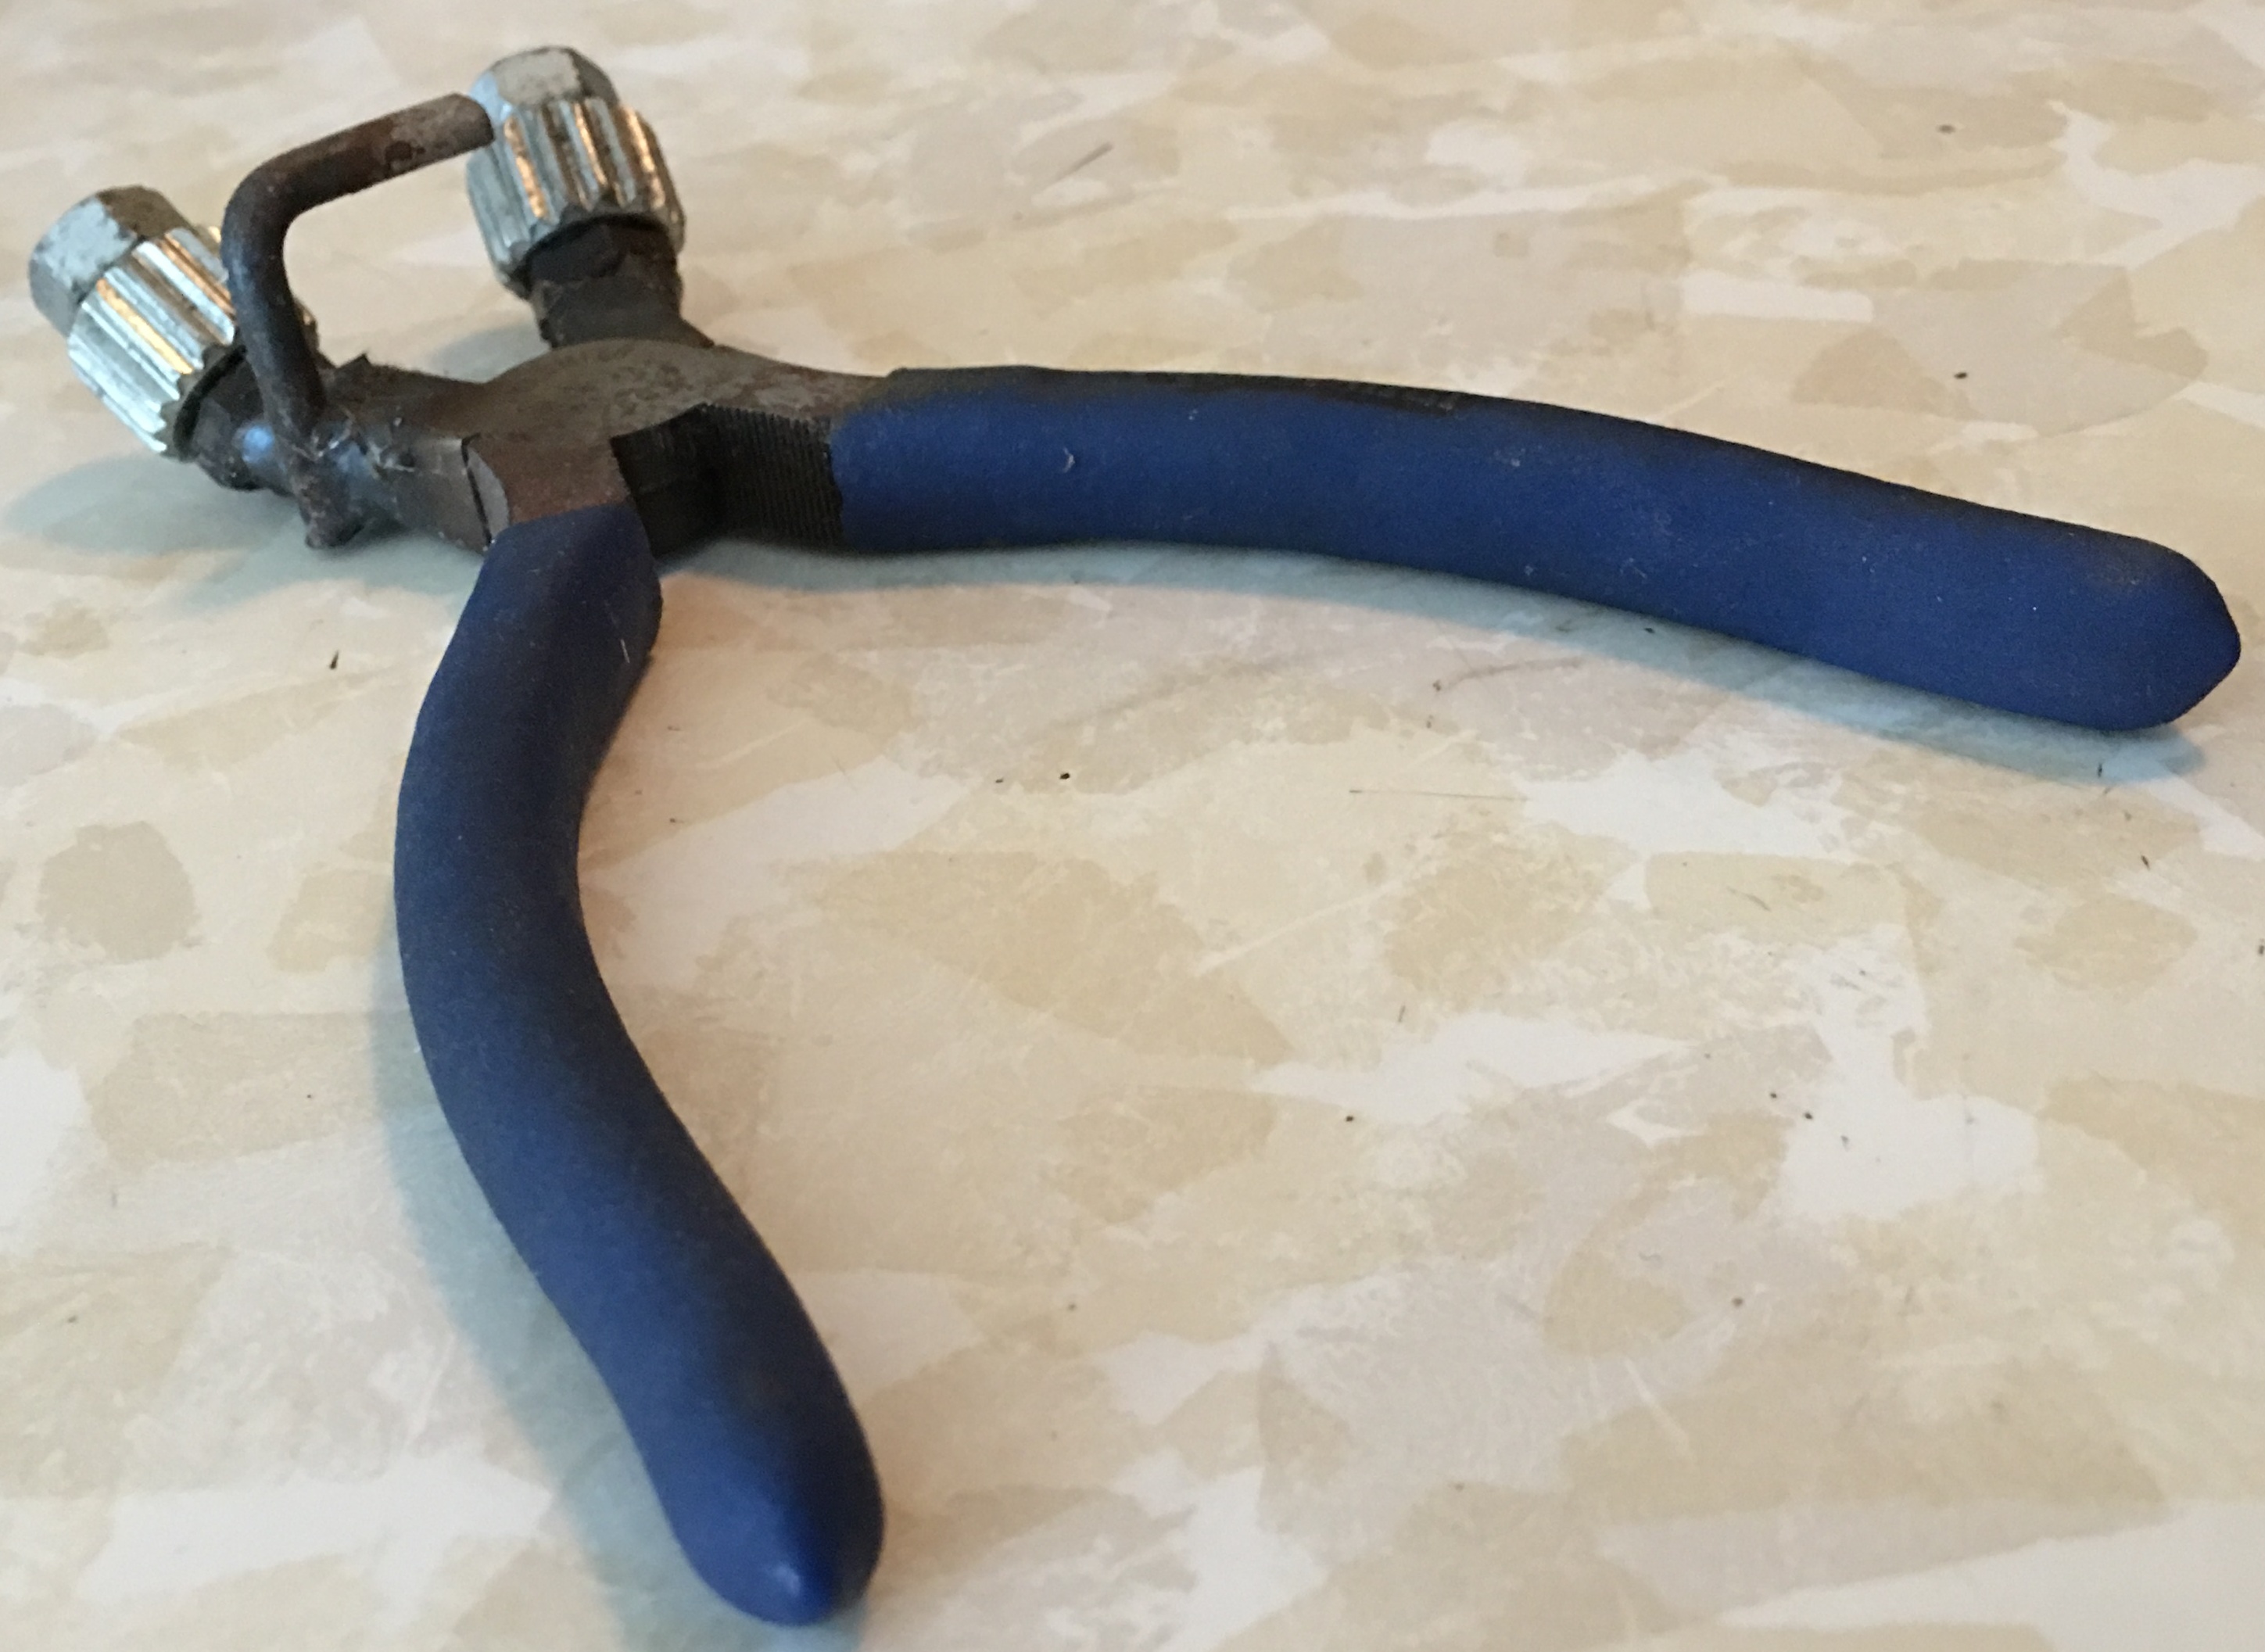
First four pictures, Dee Lusby convinced me to try wiring. I got frustrated with the cheap plastic crimpers. In order to squeeze tight enough to get them to work, my hands were getting bruised. So based on ones that I've seen made before, I got the local welder to weld these up. He cut the end of the lineman's pliers at a 45 degree angle and welded on two bolts for the shafts and a piece of welding rod for a stop for the wire. He just punched the threads so the nuts would stay in position. Works like a charm. I had to get used to not squeezing so hard because I now have leverage.
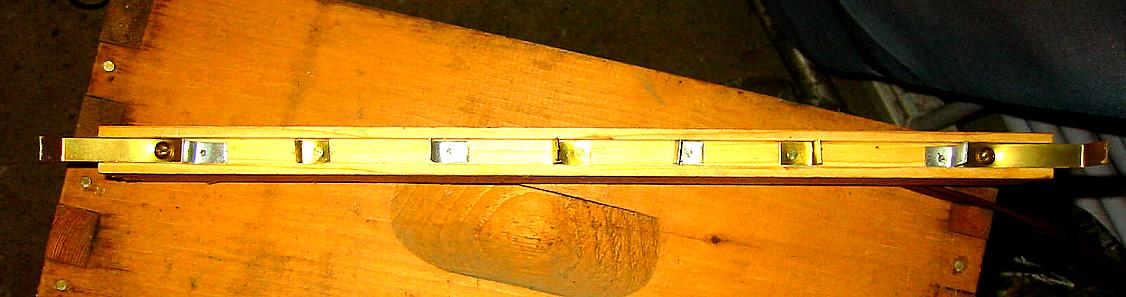
Next, I bought an embedder from Walter T. Kelley but it wasn't getting the ends embedded at all and often missed spots in the center. I added all the silver metal pieces between their brass ones and now it works perfectly.
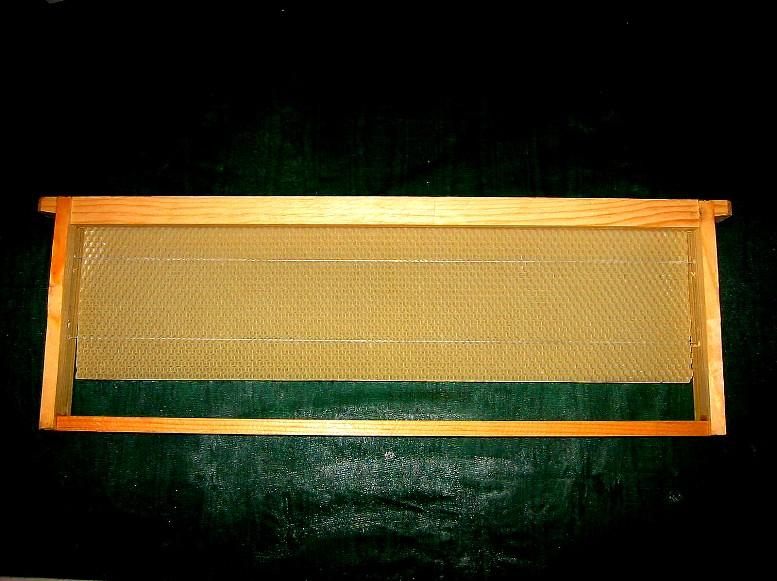
Last, I have used a little bit of 4.9mm foundation. Since I run all medium boxes and since it used to only come in deep I cut the foundation in half and put half in one medium frame and leave the gap at the bottom. The bees need somewhere to build what they want anyway, so I leave them a place to do it. This one has two horizontal wires and the end bars cut down to 1 1/4"
Propolis Gathering
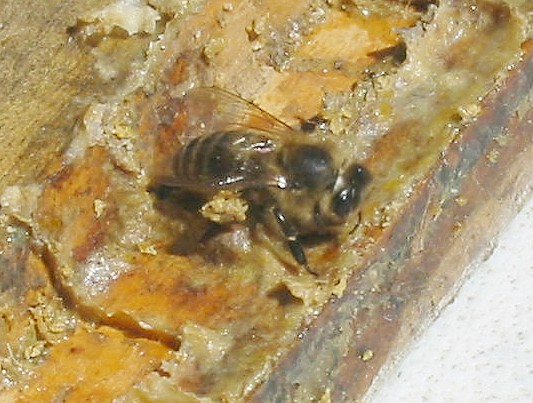

Some pictures of a bee gathering propolis from old equipment.
Hope you enjoyed the pictures,
Michael Bush
![]()
Copyright 2006 by Michael Bush